반응형
사장님들을 위한 장부 Test 코딩 중
모델에 날짜를 추가했다.
현재 어플에서 구현해야 하는 기능
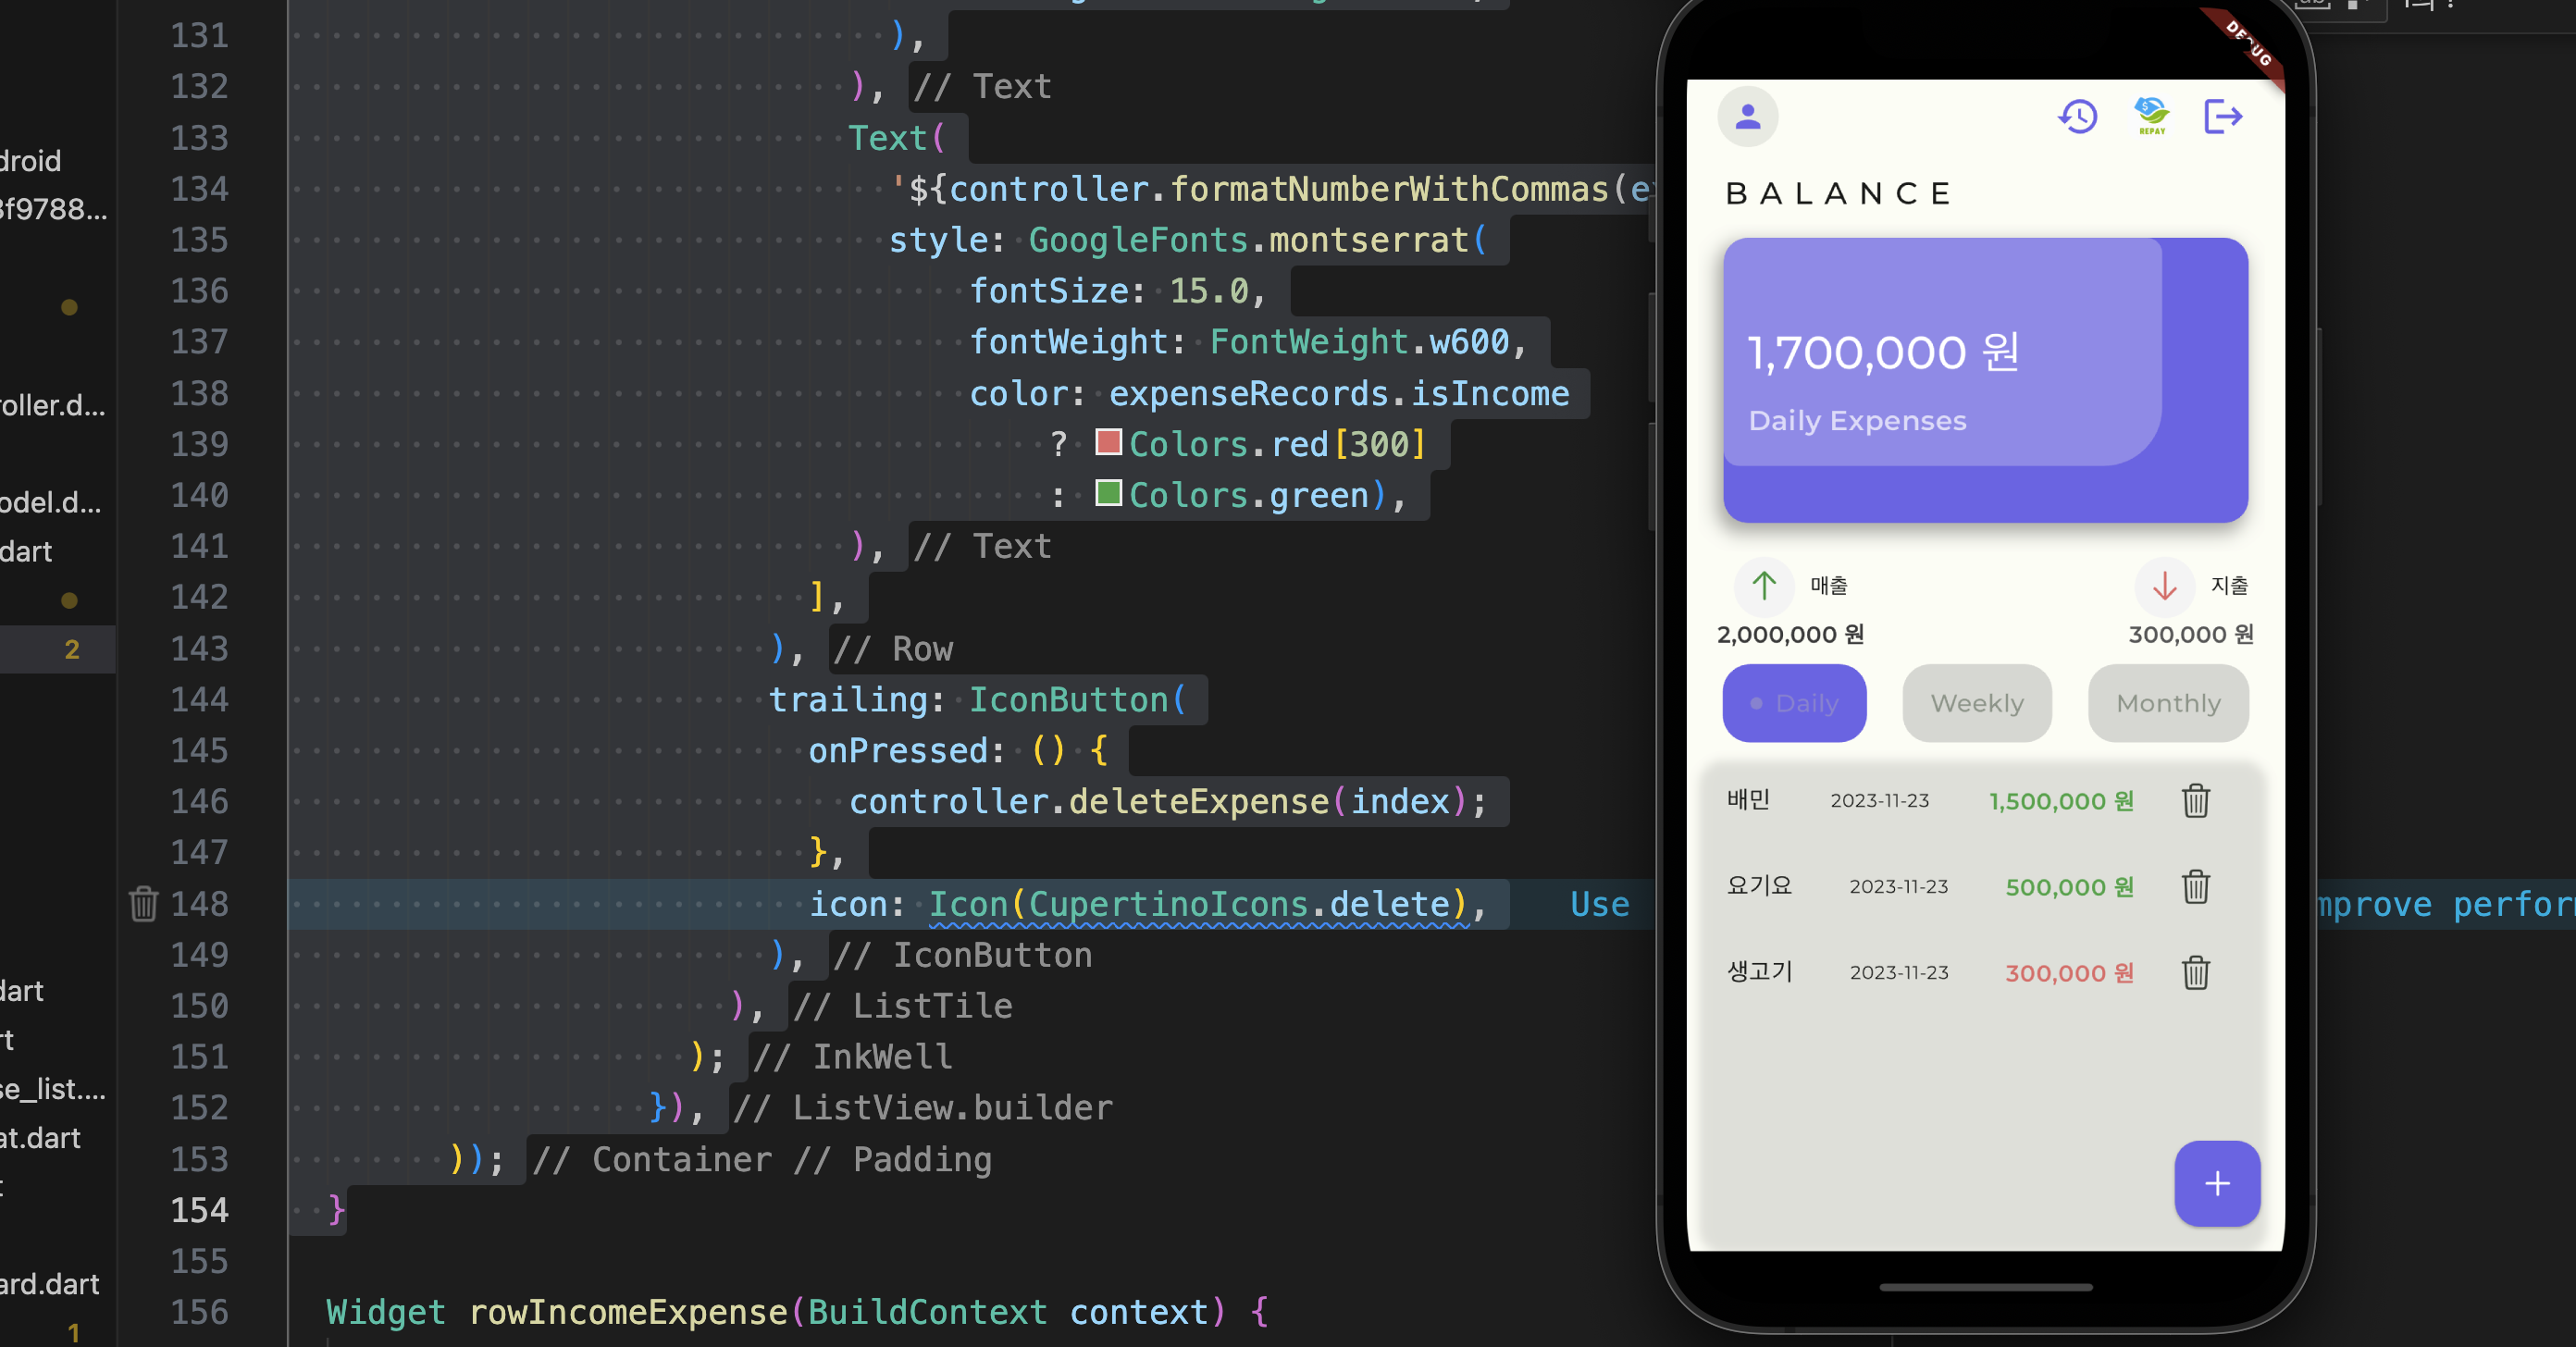
현재 기능
- FloatingAction 버튼을 누르면 알럿 창이 뜨고
날짜 선택, 내용, 금액을 입력하면, List로 보여지게 된다.

1. 데이터를 추가해야 하는 함수
- 데이터를 추가해야 하는 함수에 해당 모델을 불러오기만 하면 됨
2. 데이터를 수정해야 하는 함수
- 수정하는 코드 꽤 번잡하다.
- 수정 하는 페이지를 똑같이 만들어야 한다.
- 수정 하는 페이지에 해당 index 리스트 창을 클릭하면 보여줄 초기 값, 초기 변수들을 설정해야 한다.
void showEditExpenseDialog(BuildContext context, int index) {
    final TextEditingController newNameController = TextEditingController();
    final TextEditingController newAmountController = TextEditingController();

    // 초기 값에 콤마 표시
    final initialAmount = controller.expenseRecords[index].money;
    newAmountController.text = NumberFormat("#,###").format(initialAmount);

    newNameController.text = controller.expenseRecords[index].name;
    final initialDate = controller.expenseRecords[index].createdTime;
    DateTime pickedDate = DateTime.parse(initialDate);

    Get.defaultDialog(
      title: "지출 수정",
      content: Column(
        children: [
          Obx(
            () => ElevatedButton(
              onPressed: () async {
                final pickedDate =
                    await controller.selectDate(DateTime.parse(initialDate));
                if (pickedDate != null) {
                  // 선택된 날짜가 null이 아니면 변수에 저장
                  controller.selectedDate.value = pickedDate;
                }
              },
              child: Text(DateFormat('yyyy-MM-dd (EEE)')
                  .format(controller.selectedDate.value)),
            ),
          ),
          TextField(
            controller: newNameController,
            decoration: InputDecoration(labelText: '내용'),
          ),
          TextField(
            controller: newAmountController,
            keyboardType: TextInputType.number, // 숫자 키보드 형식 지정
            decoration: InputDecoration(labelText: '금액'),
          ),
          Obx(
            () => Row(
              children: [
                Radio(
                  value: false,
                  groupValue: controller.incomeorNot.value,
                  onChanged: (value) {
                    controller.incomeorNot.value = value!;
                  },
                ),
                Text('매출'),
                Radio(
                  value: true,
                  groupValue: controller.incomeorNot.value,
                  onChanged: (value) {
                    controller.incomeorNot.value = value!;
                  },
                ),
                Text('지출'),
              ],
            ),
          ),
        ],
      ),
      textConfirm: "저장",
      textCancel: "취소",
      onConfirm: () {
        final newName = newNameController.text;
        final newAmountText =
            newAmountController.text.replaceAll(',', ''); // 콤마 제거
        final newAmount =
            double.tryParse(newAmountText.replaceAll(',', '')) ?? 0.0;

        if (newName.isEmpty || newAmount <= 0) {
          Get.snackbar('오류', '올바른 내용과 금액을 입력하세요.');
          return;
        }

        // 수정한 내용을 컨트롤러의 함수를 통해 저장
        controller.editExpense(index, newName, newAmount,
            controller.incomeorNot.value, pickedDate.toString());

        // 저장할 때 콤마 추가
        newAmountController.text = NumberFormat("#,###").format(newAmount);

        // 다이얼로그 닫기
        Get.back();
      },
      onCancel: () {
        // 다이얼로그 닫기
        Get.back();
      },
    );
  }
해당 모델에 데이터를 덮어 쓸 함수도 만들어주기
  void editExpense(
      int index, String name, double money, bool isIncome, String createdTime) {
    final updatedItem = ExpenseRecordItem(
        name: name,
        money: money,
        isIncome: isIncome,
        createdTime: selectedDate.toString());
    expenseRecords[index] = updatedItem;
  }
- 더하여 수정된 값이 다시 다이얼로그에 저장이 되어서 다이얼 로그를 처음 열 때는 무조건 오늘 날짜로 찍히게 다시 수정 하게 함
3. 리스트 화면에 노출하기
- 잘 나옴..!
내일은 Map 함수를 이용해서 같은 날짜 별로 해당 데이터를 묶어볼 생각이다..! 11월 30일 까지 testcode 진행하고
바로 앱 만들기 시작 해보자...!!
반응형
'Flutter-플러터 > 플러터 공부' 카테고리의 다른 글
| Flutter - ExpansionTile (0) | 2023.12.10 |
|---|---|
| Flutter - LinkedHasMap- 원하는 값 필터리스트로 만들기 (1) | 2023.11.30 |
| Getx Getview를 활용한 애니메이션 (0) | 2023.11.17 |
| Flutter X supabase X 공공데이터 북한 인물 조회 (0) | 2023.11.17 |
| Flutter X Supabase RLS , 서버에 유저 정보 저장하기 (0) | 2023.11.16 |

